A leaking toilet can quickly cause your water bill to increase. Before you know it, your bill will double and possibly even triple. Suffice to say, this is something you’ll need to address promptly to avoid overspending. You also have to worry about water damaging your bathroom. Depending on the issue, you may be able to fix the leaking toilet on your own. A&E NYC Plumbing
Try the step below before calling a professional.
The Toilet Is Running
In some cases, the toilet is constantly running. The tank will continue to fill because water is entering the bowl. Although it seems like a small issue, this type of leak can cause your bill to double before you know it. The toilet may run constantly due to several problems. For instance, you will need to check the chain between the arm and the flapper. It could be stuck or twisted.
If the chain is fine, be sure to check the flapper valve because it might be leaking. It might let water pass through and enter the bowl. As this happens, the tank will constantly add more water. The valve may need to be replaced. Finally, the float may be stuck.
Since it is stuck, it will never trigger the fill valve and stop water from entering the tank.
Checking The Chain
It is common for the chain to get stuck so this could be the reason your toilet is leaking. If it is stuck, the flapper likely isn’t sealing properly. You can fix this issue easily without hiring a professional. Start by turning off the water supply to the toilet. Once you’ve done that, you will need to fix the chain. It may need to be untangled.
Disconnect the chain from the arm and fix it. Then, you can connect it back to the flusher arm. Turn on the water supply and check the toilet. If everything is working correctly, you’re successfully fixed the problem.
Inspecting The Flapper
The toilet flapper might be the source of the problem. You can easily find a replacement flapper and replace it within minutes. After you’ve turned off the water supply, remove the lid and look for the red flapper in the tank. Remove the chain. Disconnect the arms that are connected to the fill valve. Then, you should be able to remove the old flapper.
Install the new one and reconnect the rubber arms. Install the chain again. Turn on the water supply and test the system to ensure the leak has stopped.
The Fill Valve
The float cup may be getting stuck. If this happens, the fill valve will never be triggered so the water flow to the tank will never stop. Although you might be able to temporarily fix the issue, it is generally best to replace the fill valve. Then, you won’t have to worry about experiencing this problem for a while. Start by turning off the water supply and disconnecting the supply hose.
The chain must be disconnected from the flusher arm and the clip for the hose should be removed. You may need to use a pair of pliers to remove the plastic nuts. Once the nut has been removed, you should be able to lift out the fill valve so it can be replaced.
When installing the new one, be sure to read the manufacturer’s manual carefully because each model is different. Once it has been installed, you must reconnect the remaining components. Turn on the water supply and check for leaks. When you flush the toilet, the fill valve should lift and stop the toilet from adding water once the desired level is reached.
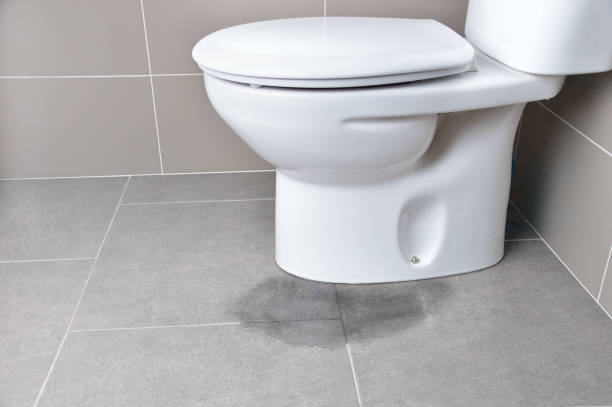
Leaking Tank
It is common for toilet tanks to develop leaks after repeated use. The seals will stop working correctly so water will leak from the bottom of the tank. Ultimately, this issue has to be fixed quickly because it will lead to higher water bills and damaged floors. As long as you’re not dealing with a damaged tank, you can likely fix the problem easily. Turn off the supply and disconnect the supply hose.
After opening the tank, disconnect the chain and flapper so you can remove the remaining water from the tank. You may need to soak up the water using a towel or rag to avoid making a mess. Then, you’ll need to remove the bolts holding the tank to the toilet. You’ll need a pair of pliers and a screwdriver.
Once the bolts are removed, you should be able to lift the tank from the toilet. Carefully clear the portion of the toilet where the seal is installed. Install the new toilet seal. Carefully place the tank back onto the toilet and secure it with the screws.
Install the remaining components again. After that, you should turn on the water supply and place a towel under the toilet to check for leaks. If everything is fine, you’ve successfully fixed your leaky toilet tank.